 Ecoerth Coupon Codes and Hosting Discounts for your Website Hosting Needs.

Step-By-Step Instructions on How To Install a Godaddy SSL Certificate:
This guide will take you through the process of adding your newly-purchased SSL Certificate to your Hosting Account. We’ll also have a few tips and point out some common mistakes to avoid.
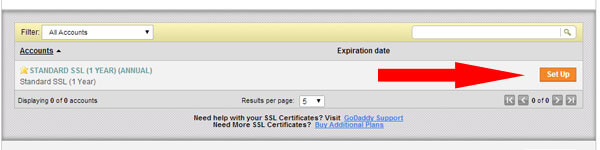
Step 1: Activate the Product
After you purchase your Certificate, you’ll be taken to a screen to activate your new product. Click the button that says “Set Up“.
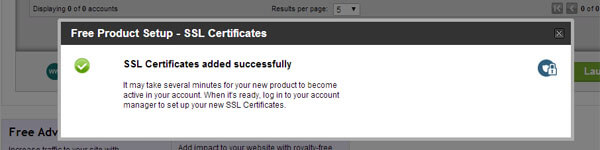
Now the Certificate will show up in your Godaddy Account Manager.
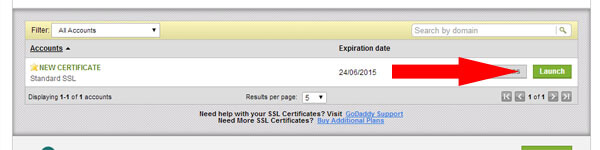
Step 2: Install Certificate On Your Server:
Go to your Godaddy Account Manager, scroll down to the “SSL Certificates” section and then click “Launch“.
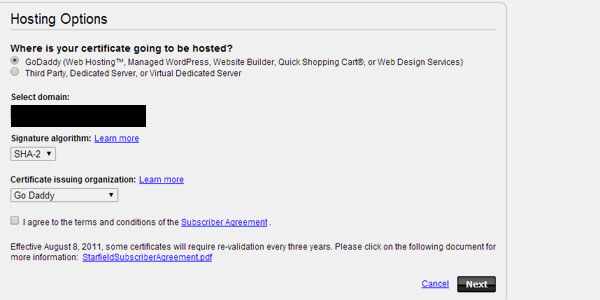
You’ll be taken to an Installation Setup Page. On this page you can:
- Specify if you’re adding the SSL to a Godaddy Server or a 3rd Party Server (you can purchase SSL certificates from Godaddy and then add them to other hosts, like Dreamhost).
- Choose the SHA-1 Algorithm or the SHA-2 Algorithm (you want SHA-2, here’s why).
- Agree to Terms & Conditions.
- Click “Next”
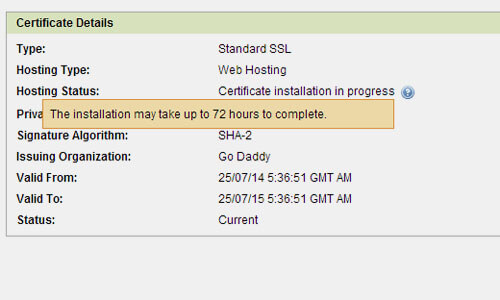
After clicking “Next”, the Installation process has begun. You can relax! In the “SSL Certificate” of your Account Manager, you’ll see this “In Progress” message as Godaddy adds the certificate to your account. You will get an email when this setup is complete.
But keep in mind that it will take about 72 hours before it becomes fully active.
Boom! You’re Done!
Now that your SSL Certificate is correctly installed, you can use this free tool to check that your Certificate is installed correctly. Just be warned that this checker will take you to sslshopper.com to view your results: